Basic Overview
Network is combination of many different systems connected together. In the Azure cloud security tutorial series – Chapter 1 [Azure Account] we talked about virtual network is a private space in a network where you can play around within systems in that virtual network. It’s a more secure way of putting your own network within a network. Virtual network is also called VNet in the Azure cloud or Microsoft cloud.
Create Virtual Network Step by Step
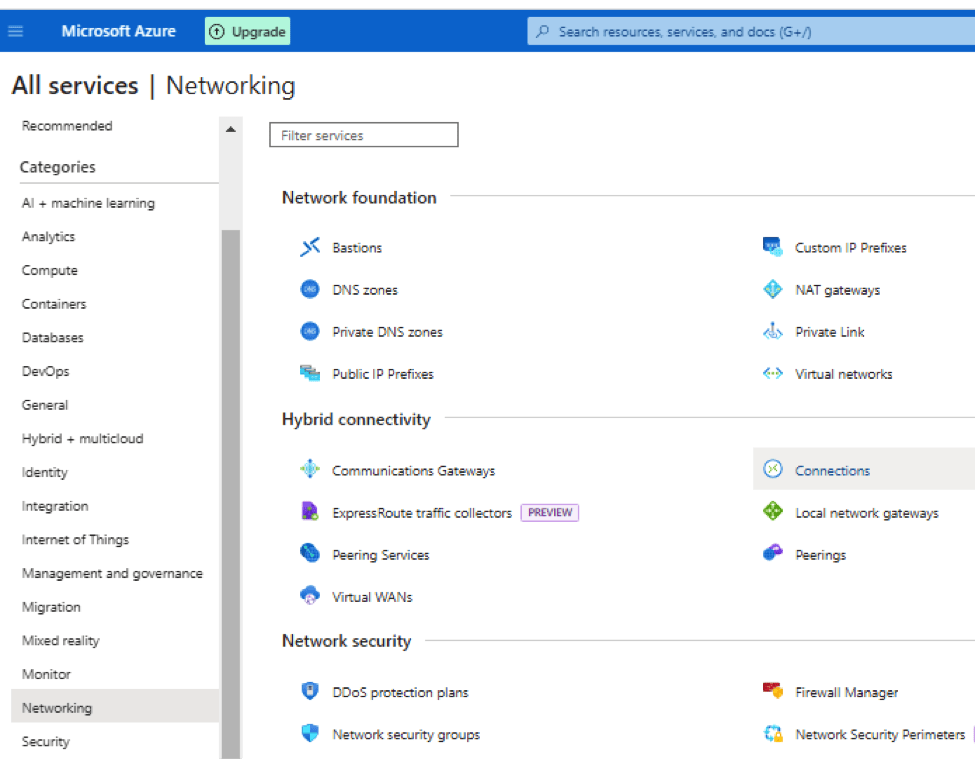
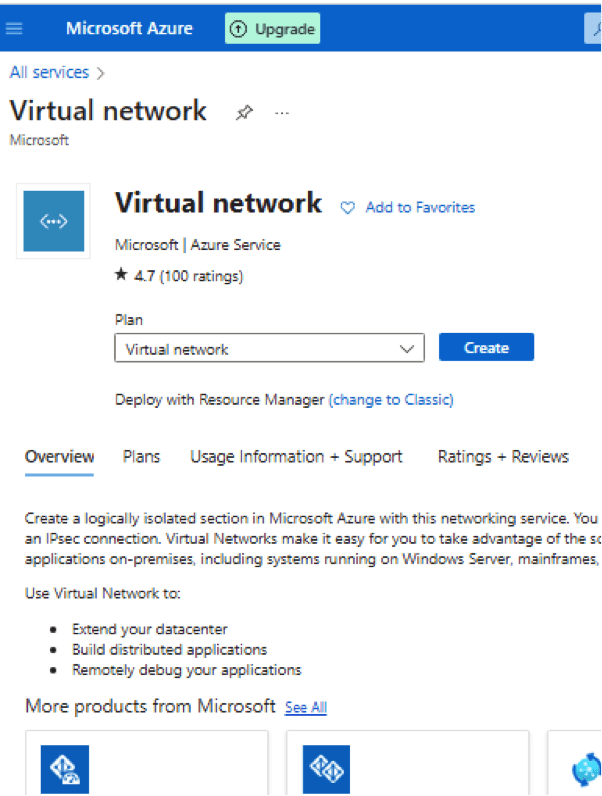
- To create virtual network step by step we will login into https://portal.azure.com and then go to All services > Networking > Virtual Networks
- Hover your mouse over it and you will see + sign. Click + sign
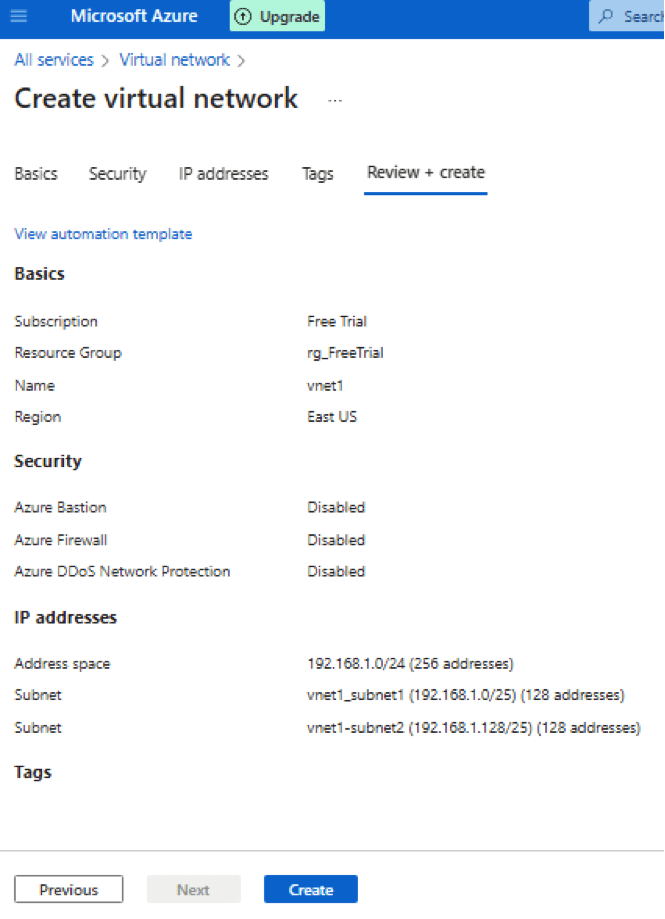
- Once you click on Create Virtual network you will see below screen:
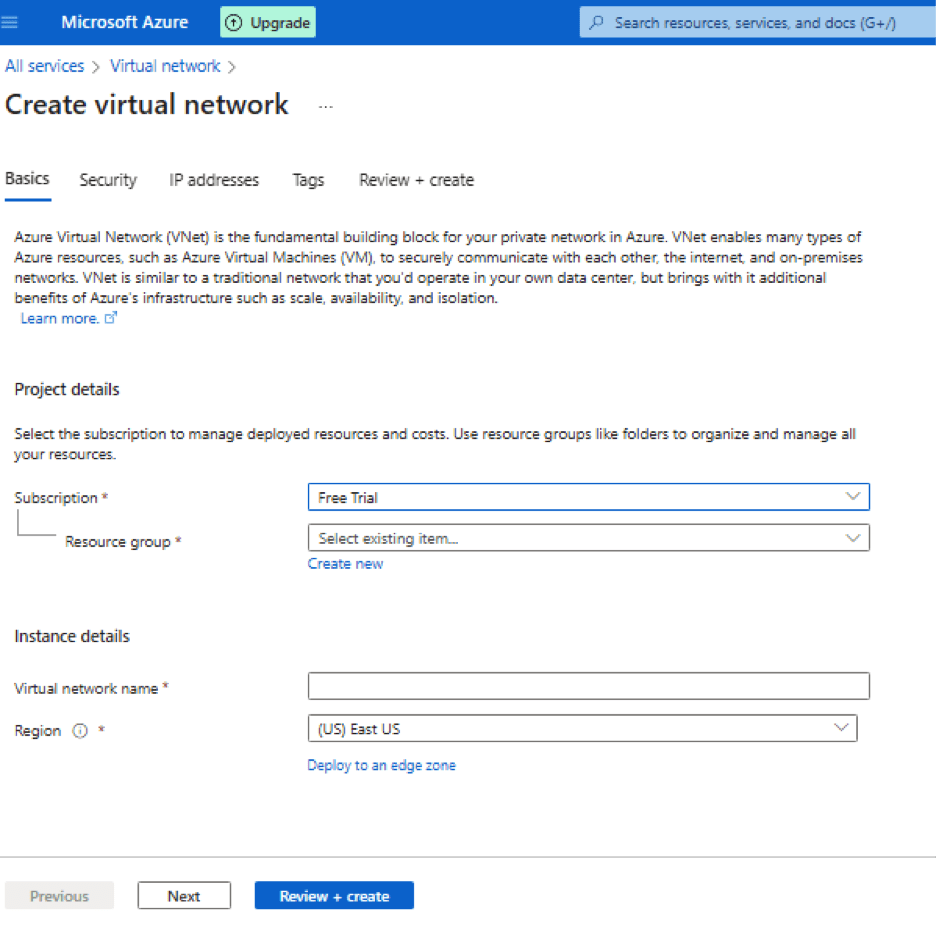
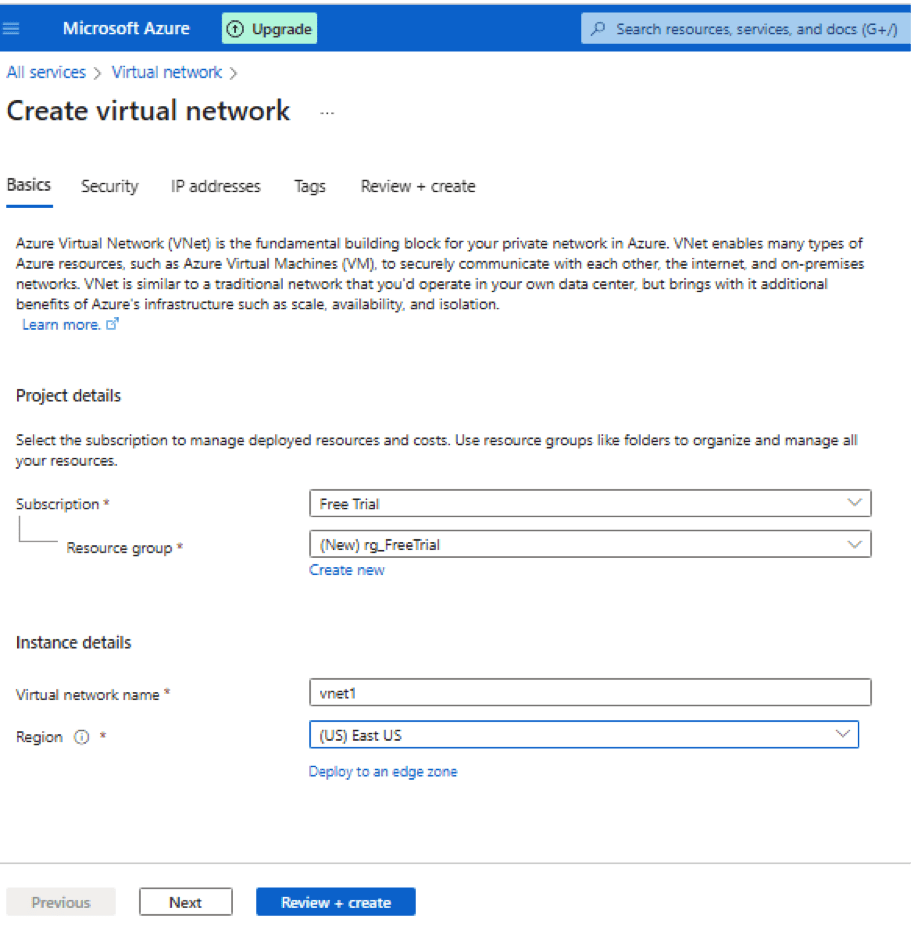
Subscription – Select Free Trial
Resource Group – To understand resource group, image how do you manage files on your computer. You create a folder and them put similar files in that folder. Similarly resource group in Azure helps you to manage and organize similar resources using resource group.
- Keep Security tab to default values
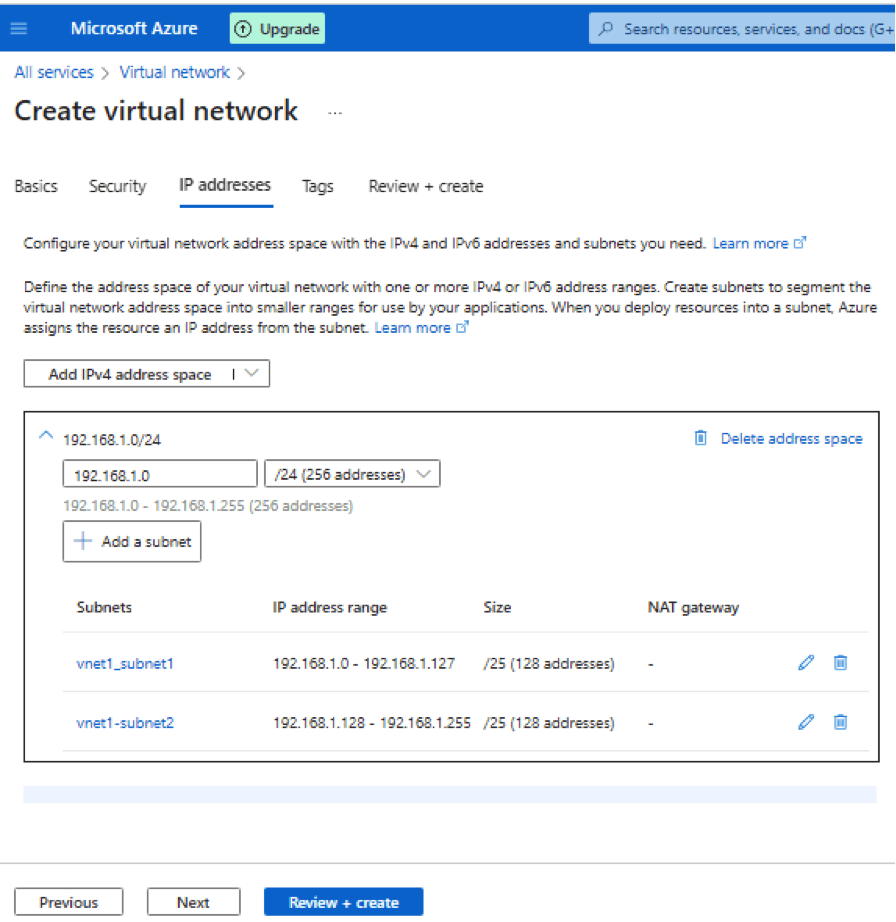
- In IP Addresses add two subnets as shown below.
- Keep tags to default
- Now got to Review + create or click Next
- After creating you will get screen below:
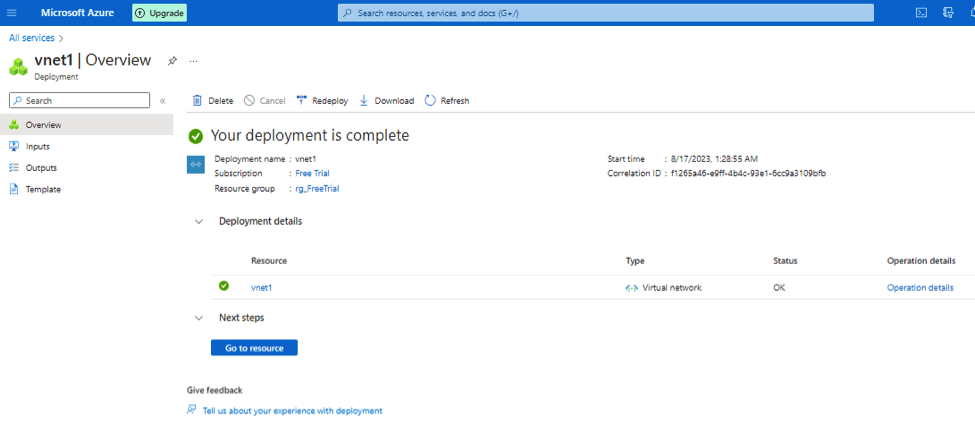
- Now we will add resources to VNet and subnets in next post.


Cyber Security Specialist with 18+ years of industry experience . Worked on the projects with AT&T, Citrix, Google, Conexant, IPolicy Networks (Tech Mahindra) and HFCL. Constantly keeping world update on the happening in Cyber Security Area.